Tutorial
Example
Trekker does not have a graphical user interface. In order to use it, you need to run the trekker executable in a terminal. Running trekker alone shows the manual for the executable.
The example below shows probably the simplest approach to obtain a whole brain tractogram using trekker.
./trekker track \
     FOD.nii.gz \                # Input FOD image
     --seed WHITEMATTER.nii.gz \ # Input seed image
     --seed_count 1000 \         # Number of random seeds to generate
     --output OUTPUT.vtk         # Output
track sets all unspecified parameters to default values which are indicated in the command description; however the user must provide the following:
FOD image
seed
a seed count, seed count per voxel or time limit: if a seed image is specified, -seed_count or -seed_countPerVoxel options specify the number of streamlines to compute. Trekker generates 1 streamline per seed. If none of the two parameters were specified then runTimeLimit option must be used to limit the duration of tracking. Tracking stops either when the required number of streamlines are reconstructed or the time limit is reached, whichever comes first. When tracking stops due to time limit, all the streamlines that are computed so far are written to the disk.
During tracking, Trekker displays information on the terminal screen showing the parameters as well as the progress.
Note
Trekker does not require input nifti files to be in the same image space, i.e., spatial dimensions of the FOD image can be 100x100x100 and the seed image can be 128x128x60. As long as images are in the same physical space (based on nifti sform), Trekker will handle nifti files with different headers. This is valid also for images used to specify pathway rules.
Basic tips
To save time, start with tracking a small number of streamlines with default parameters. You can see the default values for your dataset on your terminal screen.
Trekker’s default parameter combinations generally result with good coverage of fiber bundles with well organized streamlines. However by adjusting the parameters you can improve the results. Basically you can go towards two directions:
i. make the streamlines more organized, this could come with loss of bundle coverageii. cover more of the bundle, then you could lose the organization of streamlines
To go towards direction i:
1. decrease stepSize2. increase probeLength3. increase minRadiusOfCurvature4. increase minDataSupport
Doing the opposite will go towards direction ii. Try small adjustments for all the parameters rather than making a large modification for a single parameter.
Tip
Default streamline maxLength in Trekker is infinite
This was done simply because it is not possible to estimate the maximum streamline length from input images. So please always adjust this parameter according to your application.
Advanced tips
Below are some tips for tracking connections in healthy adult human brains that are typically acquired with voxel dimensions around 1.25-2 mm isotropic. (The values mentioned below might not apply to other types of brains but the relationships between parameters still hold.)
Try to use small a stepSize. This value can be 0.05 or below. With higher values, bundle organization will be compromised.
minRadiusOfCurvature values between 0.5-1 mm are generally sufficient for tracking connections in the adult human brain. While the default minRadiusOfCurvature is half the voxel size, you might want to go lower than this if you are after bundles which have sharp turns.
In PTT algorithm, probeLength is a very important parameter. Try to make sure that this value does not exceed minRadiusOfCurvature. Notice that 2*pi*minRadiusOfCurvature is the smallest circle one can track and probeLength shouldn’t trace a long part of it. A very long probeLength could lead the tracker to make loops or take sharp, incorrect turns at crossing fiber arrangements. A probeLength value about half of minRadiusOfCurvature is adequate.
We designed PTT to preserve topographic organization of connections. So one can use pretty low minDataSupport values such as 0.025 or even 0.01 without losing much from streamline organization. This allows to get better coverage of the fiber bundles or help track intricate and challenging connections. You may however need to provide good anatomical constraints to reduce false positives.
If you have problems with data quality, set the probeRadius to the value used for minRadiusOfCurvature. Using a topographically organized cylindrical probe model is particularly effective to mitigate noise in FOD. However, this will slow down the tracking.
If you have luxurious computational resources, you can increase probeQuality and probeCount to improve the probe model and fiber tracking results.
Visualizing results
Trekker can save tractograms in binary formatted .vtk files.
All streamlines are saved in the physical coordinate space (based on sform fetched from the header of input FOD nifti).
.vtk files can be visualized using several third party software including Paraview, 3DSlicer and Qit.
Paraview interface is very simple to use and it provides professional 3D rendering capability. Trekker output can be visualized simply by dragging and dropping the .vtk file into Paraview window.
Below are examples drawn by Paraview using the trekker command shown in this tutorial applied on the Human Connectome Project subject 100307.
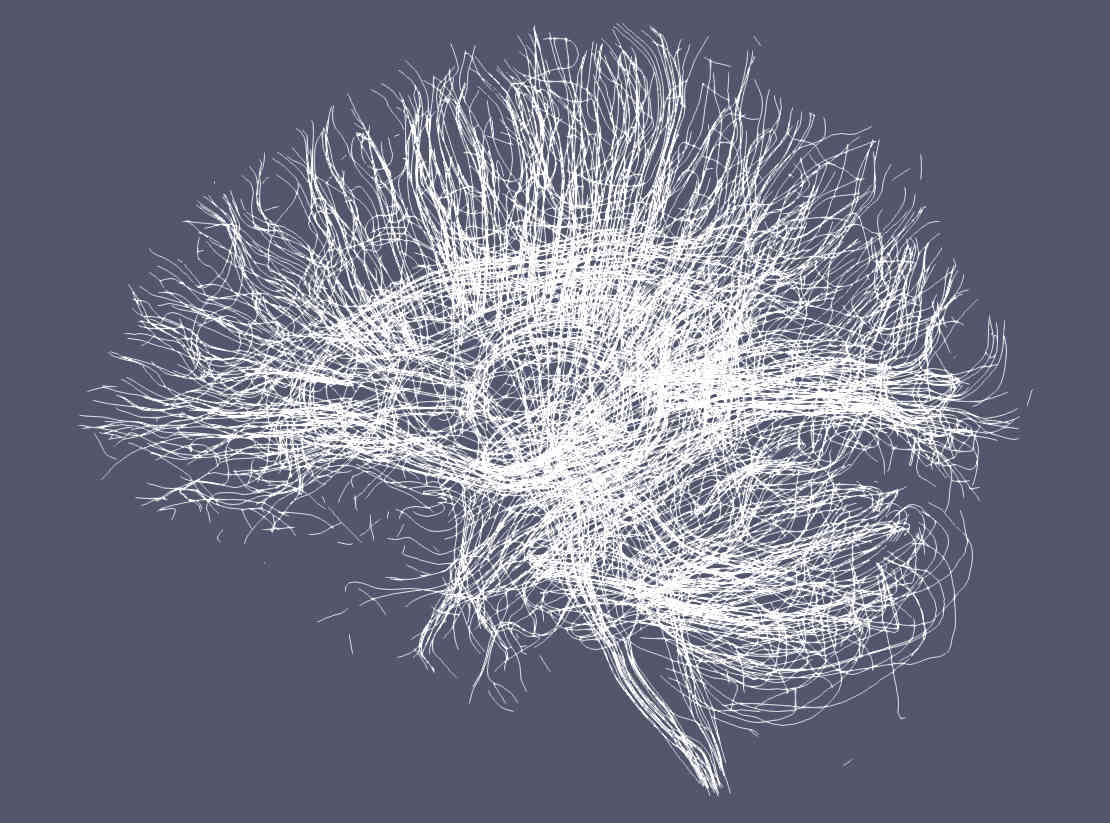
Paraview by default renders streamlines using a solid (single) color.

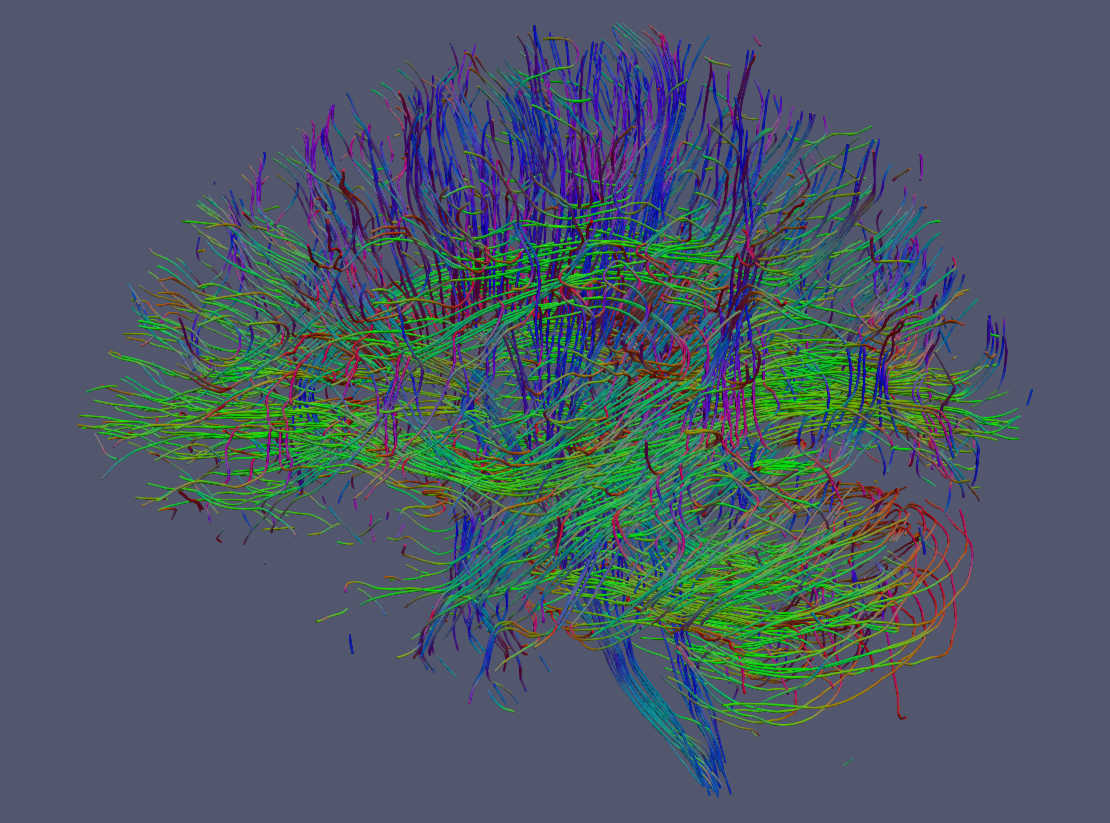
It is possible to display tractograms in the familiar direction coded RGB scheme as shown here. With trekker you write the segment colors using the addColor command. Notice that by default colors are not written in order to save hard drive space. To show the segment colors, please select RGB as the coloring option in Paraview and make sure that Map Scalars option is NOT selected.
Streamlines can also be rendered as tubes with Paraview. For this option go to Filters->Search-> Write "tube" in the search box and click enter.
